After you subscribing to one of our node.js hosting, you could start setting up your Node.js. Below is the steps to do so.
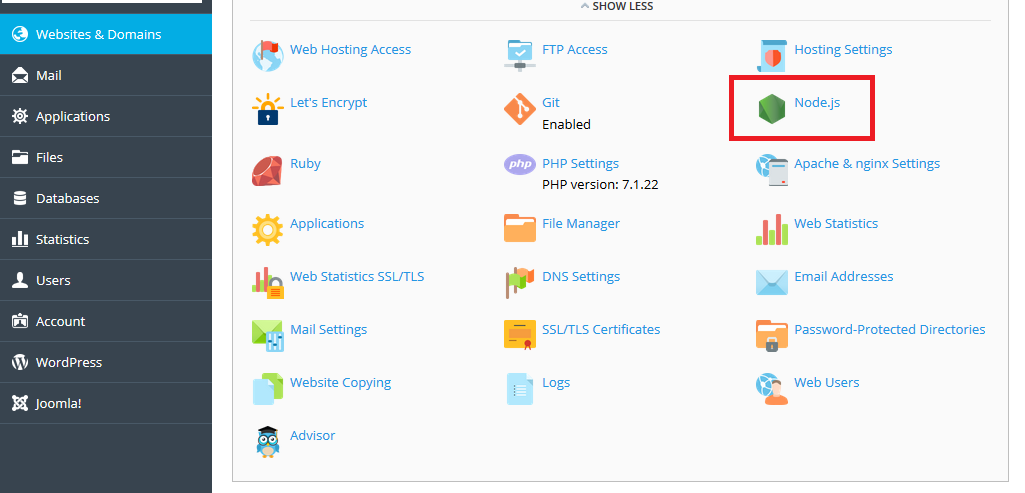
First, Login your account hosting panel, and go to Websites & Domains > Node.js.
Then you can set your Node.js application with the controls on this screen:
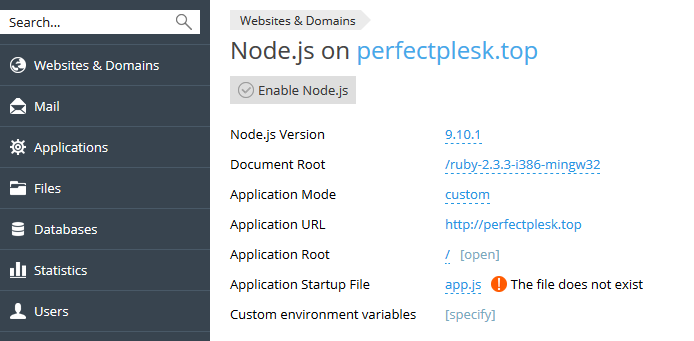
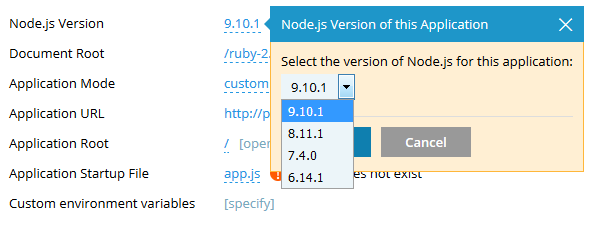
Node.js Version – With this control, you can select a different Node.js version instead of the currently selected one from the list of available versions.
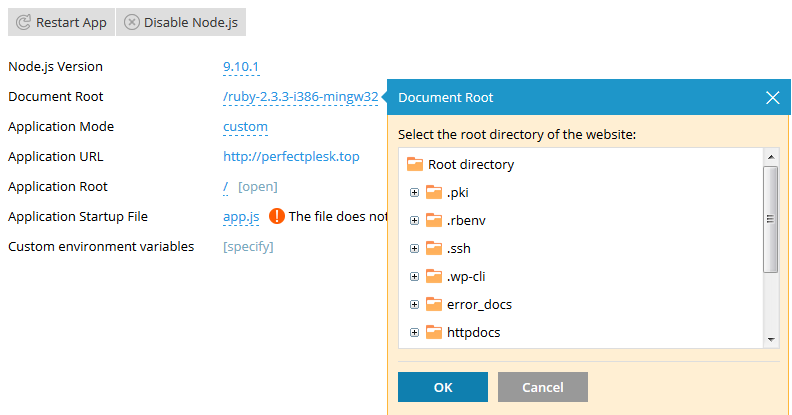
Document Root – This control enables you to set the domain’s document root directory. Note: It must be the sub-directory of the Application root directory.
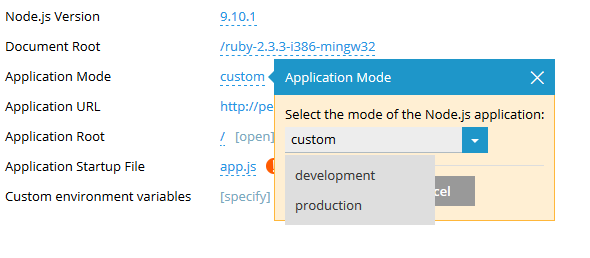
Application Mode – There are two modes to choose: “Development” and “Production”. Or you can enter your own mode name.
Application URL – You can open the application in a browser by clicking this URL.
Application Root – It is the domain’s root directory until you set a custom one. It will show you the contents under the application root directory in the File Manager if you click “[open]”.
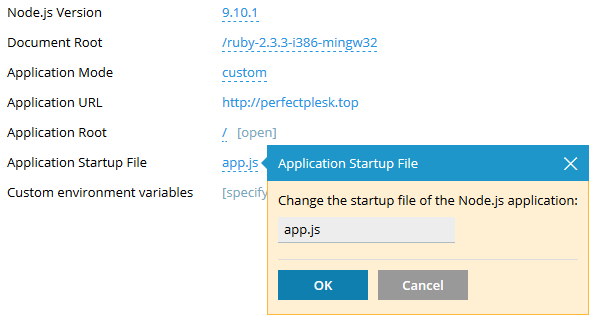
Application Startup File – The startup file is named app.js by default. Or you can change the startup file name.
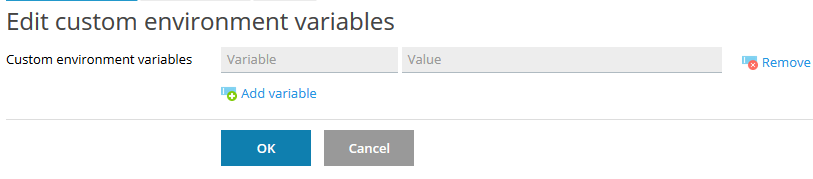
Custom environment variables – This control is only for Plesk for Linux. You can click “[specify]” to edit custom environment variables, using Add variable to add custom environment variable and Remove to remove the existing one.
The following two controls are available to you if the package.json file is present in your application root directory:
NPM install – You can install the packages which are described in the package.json file.
Run script – There is a “Scripts” section in the package.json file. You can run a command specified in this section.
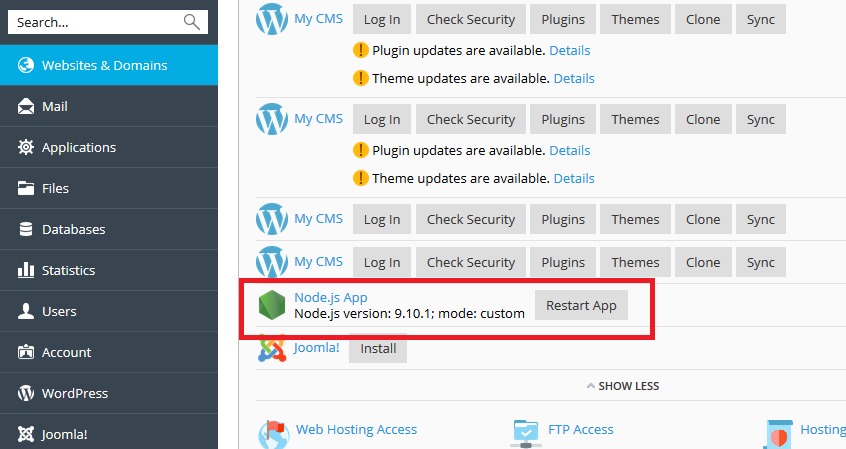
After the setup, click Enable Node.js to enable it, and the Node.js app related information including its version and mode along with a Restart App button will display below the domain name on the page of Websites & Domains for your convenience。