It has been the top priority, in some degree, to give your customers a personalized shopping experience, when you’re a retails or online business owner. The Customer Experience Impact (CEI) Report published by Oracle RightNow says that 86% consumers will be willing to pay more for a better customer experience, and 89% consumers began doing business with a competitor following a poor customer experience.
But, how to have a customized shopping experience on nopCommerce site?
Keep reading and you will find the most suitable way to get there.
Why You Should Deliver Personalized Shopping Experience?
Personalized shopping experience is a hot topic nowadays because new research proves that consumers are expecting highly personalized shopping experiences. The benefit to creating personalized shopping experiences becomes obvious, for instance:
- Personalization drives impulse purchases. Nearly half of respondents they bought items that were not on their shopping list just because of a personalized recommendation from the staff of the shopping store.
- Personalization leads to increased revenue. A lot of consumers expressed their willingness to pay more than they planned to if there is high-quality personalized service.
- Personalization leads to fewer returns. As high as 85% of impulse buyers say they are happy with what they bought, only 5% of impulse purchases were returned.
Besides the above, it is also said that personalization leads to higher-level loyalty. So, if you’re not delivering a personalized shopping experience, it’s time to do so.
3 Ways of Customizing Shopping Experience on nopCommerce site
There are many ways to have customized shopping experience on nopCommerce site. Here we focus on three simple methods to display customer name once they log into your online store.
Method 1: Display customer name on the header
In below, you will learn how to display customer name on the header of your nopCommerce site using custom code.
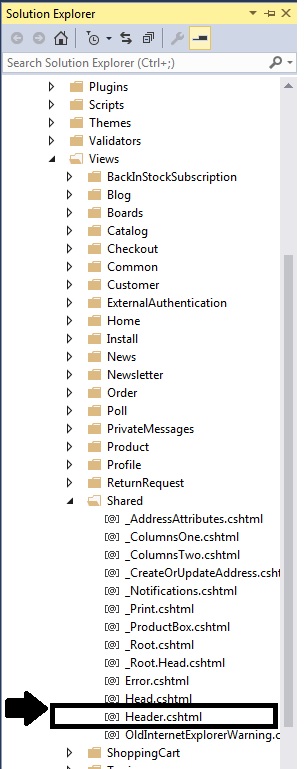
Go to Nop.Web > Views > Shared page, and open the view file “Header.cshtml”.
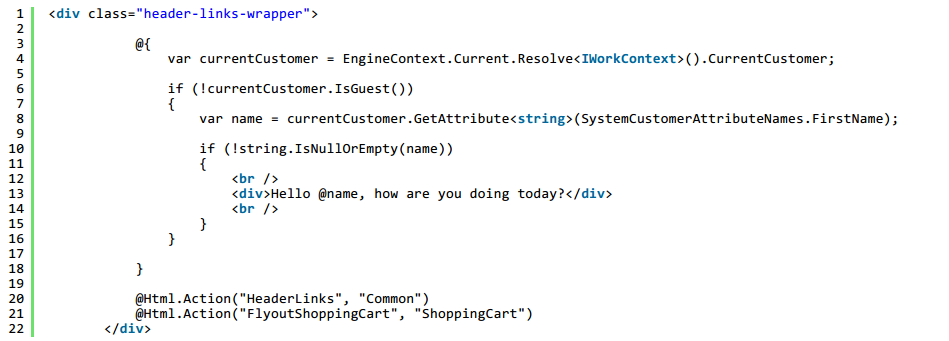
Then, add the following code at the top.

After that, find the DIV like this:

Now, you need to add customer name in this way to check if customer is not guest.

The first name is displayed with the hardcoded text and what you need to do is making sure your final DIV look like this:
Save changes.
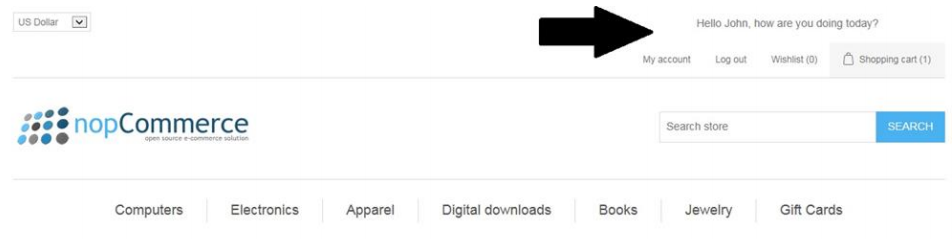
Run your nopCommerce site and you will find that your customers can see their first name at the top of the website after logging in.
Method 2: Display customer name in a popup window
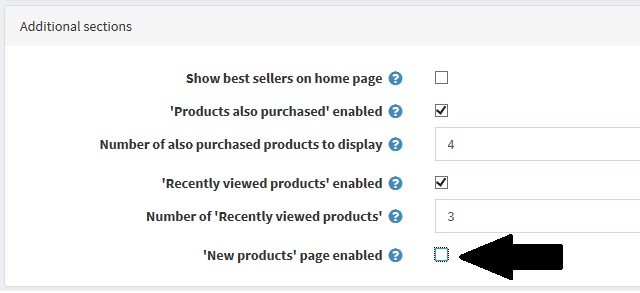
Upon installing nopCommerce, you will get an option to display new products in a separate page. But before that, you should enable a setting for your products.
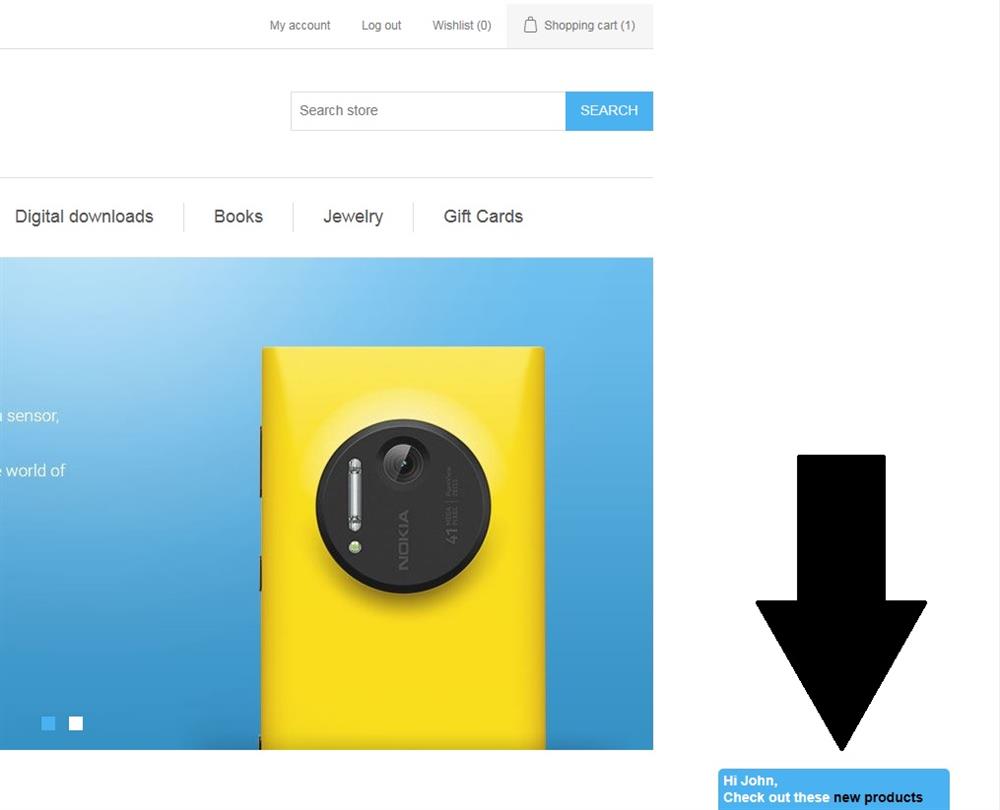
In order to get new products more exposure, you should consider adding a new personalized option to the feature, for example, a custom popup window that gives your customers a link to new products page.
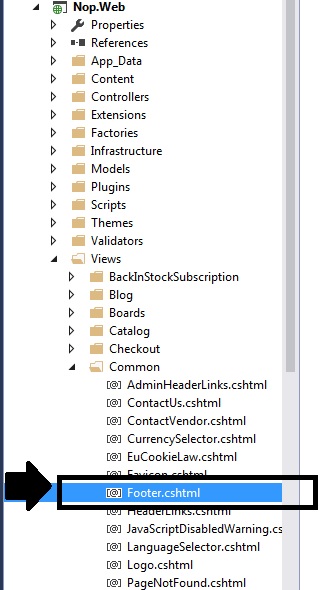
Go to Nop.Web > Views > Common page and open the view file “Footer.cshtml”.
Add the following code at the top.
![]()
Scroll down to the bottom of your view file, add this code to check if the New Product functionality is enabled or not.
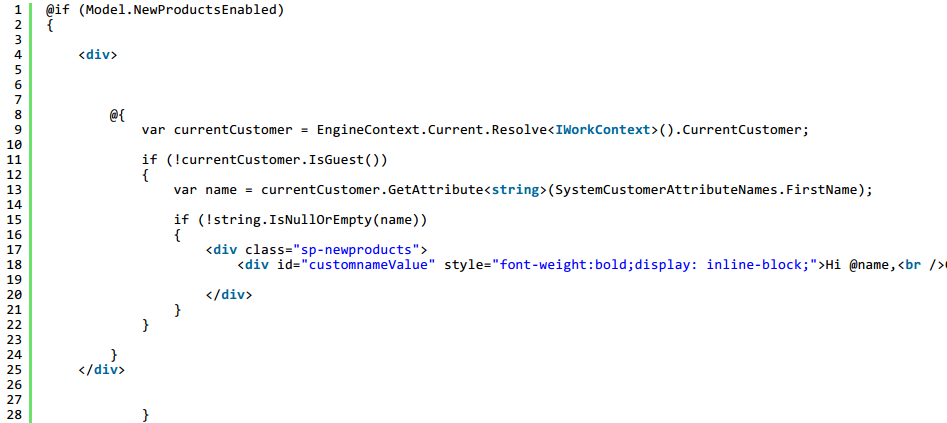
If enabled, you should then ensure customers are not guests and their first names can be displayed along with the new products page link.
You can manage the position of the popup window by adding below CSS to your theme’s stylesheet.

Save changes.
Also, run your nopCommerce site and you will find that your customers can see their first name at the top of the website after logging in.
If you don’t want this custom functionality, you can feel free to turn off or disable it in nopCommerce administration section.
Method 3: Message Templates
As other e-commerce software like WooCommerce and Magento, message templates in nopCommerce define content, layout, as well as formatting of automated messages sent from your store site. Since each message template is associated with a specific type of transaction, they are called transactional emails. In nopCommerce, there are several message templates available by default to notify the customers/users about order statuses and so on.
Importantly, you can have the chance to customize unique shopping experience for both your customers and online shoppers. The template messages ensure you of dynamic tokens set in the content such as location, customer name, and more.
To access the message templates, you can navigate to Content management > Message templates.
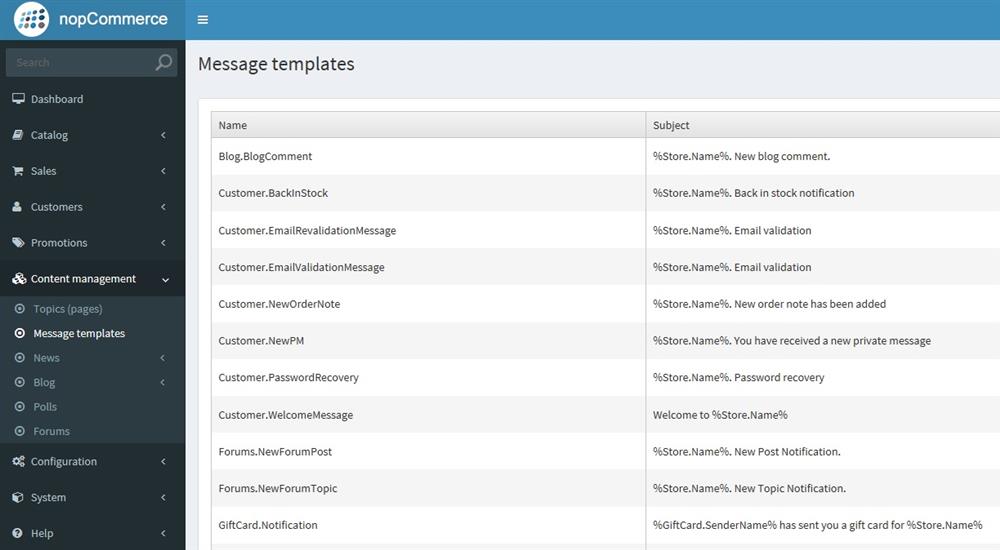
To make sure the customer name will be displayed in the welcome email after they register on your nopCommerce site, you need click on Edit for the message template in the section Customer.WelcomeMessage.

Then select Show option next to Allowed message tokens, and you will see all the allowed tokens which can be added to the email content for your online store.
Note: You can add conditions as well in order to display different information for different cases.

Summary
When you look at the personalized shopping experience we’ve made, you’ll notice that personalization doesn’t have to be complicated. Big or small, any degree of personalization on your nopCommerce site can make a huge impact on the customer experience.
However, in addition to personalization, don’t forget the most important factor to customer satisfaction–speed and uptime. In other words, you should make sure your nopCommerce site is hosted on a best ASP.NET hosting service before consider improve shopping experience with personalization. When it comes to the best nopCommerce hosting in the industry, Host4ASP.NET could be a good option, honestly speaking.


